Sometimes you need to take a break from various things in your life. Breaks can definitely be a good thing. They help you re-evaluate and look at things from new perspectives.  They help you see what’s important and what’s rubbing.

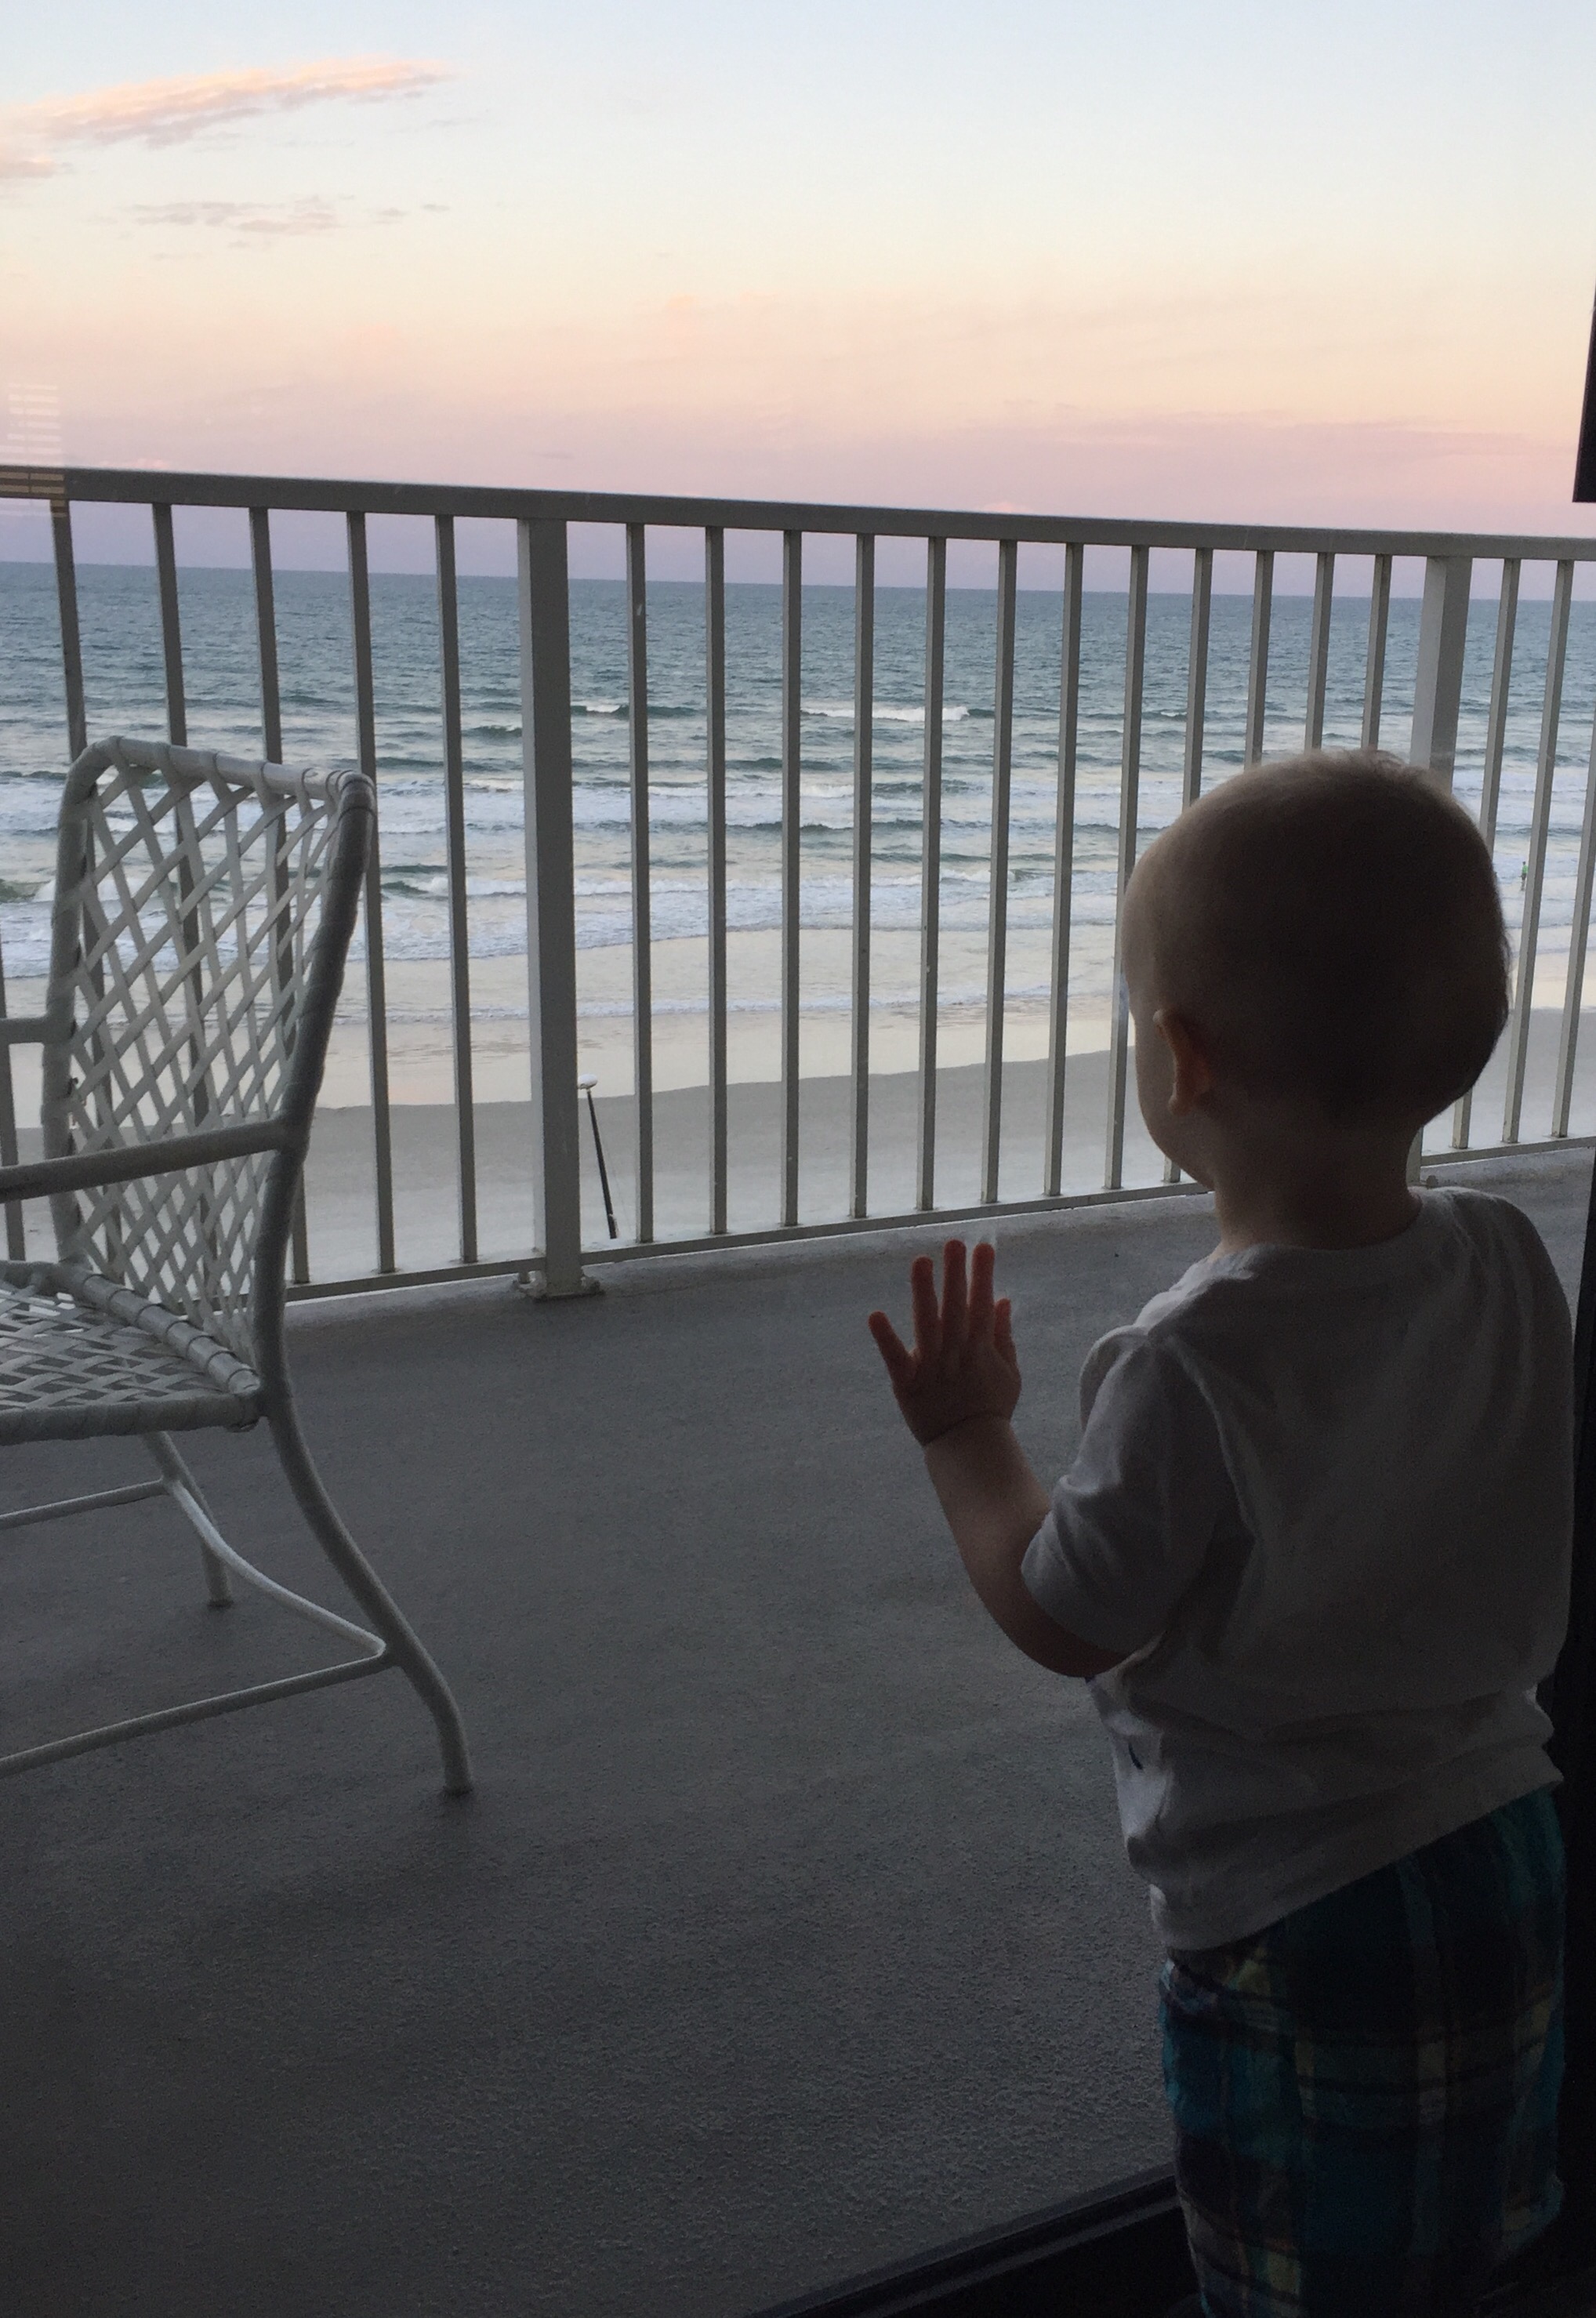
I have done that with this blog. I felt when I was blogging previously, that I would show others how I update and utilize my home.  My hope was that it in some way, however small, my ideas would help others to effectively use their own homes.  I started to feel a bit fraudulent though as I went about my attempts to do just that. I found that I was in a very busy stage of life with my two boys and husband. I couldn’t quite keep up with my own household load and I hadn’t even been in my own home a year at the time I had started this blog.  I didn’t feel like I had a clear vision of where I was even going with my home, so trying to put that into words wasn’t working so well.


I return to you now with a few thoughts on what I want this blog for…

  1.  I want my home to be functional and work for my family and I.  As much as I love beautiful design, I’m starting to lose patience with home decor that is strictly nice to look at. I’m having a difficult time justifying overly done spaces. Who can live like that? And hey! If you are living like that- great! But for me and my family’s lifestyle, we cannot.
  2. I want a place I can come and write. Write down my thoughts on my family. Log the progress we’ve made, get a visual on where we once were and all the good and bad that comes with it.
  3. I want to simplify things- I don’t want a ton of stuff that I have to reorganize and figure out what to do with. I want less things. Less clutter. Less lust.  I however am not a naturally organized person- I have ADHD so organizing is a problem for me but I thought we (you-whoever takes the time to read this) can figure some of this out together and in the end maybe our homes and hearts will be a little more peaceful for it. 💙

-S

Spring Yardwork

Ever since we moved into our newly built home, I had some higher hopes for the lawn space. Every other home we’ve lived in previously already had a yard full of trees and plants. It made it easy to walk in and think- this would look good there or that shrub needs to go. When you move into an empty lot the landscape process is overwhelming to say the least. 

Today I want to share with you a few things that made the process slightly more bearable for me.

Time– Get your lot sodded or seeded if you must and try to give yourself at least a year. That will give you an opportunity to see your landscape in all four seasons. It’s very valuable to know which areas get shade, which get full sun,  etc. You will save yourself a headache and money if you know where certain plants will thrive and where they won’t.

iscape-This app has a free version but I don’t recommend that version if you are doing serious updates to your yard. The full version costs about $13 which is quite a bit for an app. But if you think about it, that’s the cost of two garden magazines from Walmart. What I like about the app is it allows you to take photos of your own property and use them with photos of trees,shrubs and even hardscaping materials to see how it looks.  


That’s a few examples of some ideas I created with the app.

Theme– this doesn’t have to be perfect so don’t overthink it. But a little planning goes a long way in the home landscape. If you like English gardens- think roses and trellises..if a zen space is more your overall feel then look into Japanese gardens for inspiration. Try to keep the plant colors somewhat cohesive as well. One thing I’ve enjoyed quite a bit is color blocking with plants. It adds dimension and interest to the landscape with little effort. If you want a garden with night time interest use plants that flower in white. If red is your thing, use it to dot it along your landscape and pull things together. 

 Frame– Keep a few framing ideas in mind as you plan out your yard. Ideally your landscape should act as a border to your home and draw people towards the door or backyard features if you have them. It always looks off to have a tall skinny shrub right in the middle of a house. Save those taller shrubs for the sides and put lower shrubs in the front.  

Now I’d like to show you how things are looking in my yard these days after all that planning.


It’s not absolutely perfect yet but the hardscaping is in so now I have a structured area to work with. I’m excited for the way things turned out. I have to say though- planning is one thing but my husband was the true star of this show. Without his help this never would have happened.

Until next time-

Stephanie

Beachside revamp.

Hello friends. I’m back from my little Florida vacation. It was fun but so good to be home. It’s exciting too because the weather here is starting to feel a little more “Florida-ish” and less like the arctic tundra.

As I was looking through some of the vacation photos I realized the cottage owners did some simple updates with paint to get there place in shape for visitors.  I thought it’d be nice to share with you how easy and classy updating with paint can be. 


They took a bed with a similar style to the one above and used black paint in a matte finish to update it.


They spray painted the side table lamps and picture frames gold.


They also freshened the place up with a nice gray paint color which pulls a little blue in certain lights. 

To finish everything off they added a few modern beachy accessories like the large abstract painting in the first photo and this wooden whale.


What they did here can easily be accomplished under budget. It just takes a little elbow grease or in this case paint.

-Stephanie 

Beaches and Toddlers

Well I had hoped I would be writing you next from warm weather and it turns out that I am. My little family of four decided to make a trip to my home state of Florida. We arrived on Saturday and have the privilege of staying for 2 weeks. The weather’s been beautiful.  

When we got off the plane the first thing I heard my son say was, “Mommy everything is so green here!”.  


He was right! It’s funny the things I took for granted as a Florida native.  I have to tell you though, spring was always a favourite season of mine.  Even while I was in Florida! What’s funny to me is that in a couple of months my plants in Manitoba will finally be growing and the grass in Florida will be starting to turn brown because of the intense summer heat. For now though, I will revel in the greenness.  

Hello tropical flowers that grow in the ground.. And not in a pot from the grocery store. 

Hello palm trees!  

Hello beautiful ocean view.  

Hello adventurous little boy. 
Hello new snorkelling hobby.  
 

Hello windy, spring vacation from New Smyrna Beach! 
XOXO-

Stephanie
  

Spring means plants.

I’ve been inspired by some of the other blogging ladies to talk about plants.  To me, spring means fresh buds and greenery.  

Yesterday, my area was hit with more snow. For us the outdoor green stuff is still going to be a few days away. In the meantime I’m consoling myself by looking at my indoor plants and dreaming of my garden, which has yet to be conceived. 

  [Side note: my son and I made these sweet ladybugs to add to said garden.]

I thought I’d show you folks some pictures of the plants I have growing indoors.

If you know me at all, I have a notorious black thumb.  But as you will see in these photos, I’m getting better.

  Soapwort- my son and I planted from seeds.
  Christmas Cactus- grown from cut plugs.

  
Succulent- not sure on the variety. If you know, please tell me.

  
Vining tropical plant- most recent plant purchase. Walmart special.

  
Ivy- perhaps my favourite. Slightly fickle yet I’ve kept it alive. (Insert applause here)

  
Wandering Jew- I love these. I have the worst luck with them though.  Time will tell how this one fares.

  
Mother in laws tongue- I’ve had for almost two years and is now about 3 feet tall. I’ve divided it twice already.

That concludes my plant tour for now.  The moral of this story is: if you have trouble with plants don’t give up just yet. If there is hope for me, there’s hope for you too! 

I hope the next time I write to you it will be from warmer weather.

Bye for now-

Stephanie

Red Chevron 

We moved into our home last July. It was way before then that my son, G started to request a red room. He reminds everyone often that it’s his favourite color.  As much as I enjoy creating spaces that feel cozy to everyone I just did not want to paint his room red for several reasons.

Red is a color that excites you. It can in certain circumstances promote anger or make you feel agitated…  You can read more about the color red and its affects at this link, Red psychology.

But, in the end I decided that it was his room and I’d do my best to grant his request.  On my local Varage site I found an unopened gallon of Benjamin Moore Aura paint in a color called Caliente for $15.  G specified that it couldn’t just be any old red, it had to be a bright red.  This fit the bill so we were off to a good start.

  
Then I purchased some chevron shaped Frogtape from my local paint store.  I’ve never used Frogtape.  I’m more of a “cut in by hand” sort of girl so this was new to me.  

  
There’s so many ideas you can choose to incorporate with the Frogtape.  Really, you can do whatever you can think up.  In the end I decided to do a simple border a little over halfway up my sons wall.  It ended up being just enough red that it didn’t feel like it was too overpowering.  


I do regret a few things. One, the paint ended up having an awful smell. I’ve used fresh Aura paint before and never had this problem. Next time, instead of falling for the “great deal” on varage, I will just purchase fresh paint. It’s been a few weeks and the odor is still lingering on.   Also, I will use a drop cloth next time. This stuff got everywhere. Usually I’m pretty good to clean up after myself but for some reason the red went everywhere…sigh.  Hopefully you will learn from my mistake and not get overly confident in your painting abilities.  


In the end, I think G was right. His room looks great with the red.

Until next time-

Stephanie

And thread.

I think it’s time I introduce you to the “thread” portion of this blog. 

A while back when Target stores were closing in Canada, I purchased this cute little canvas printed with the letter “L” (I think I paid a little over a dollar). 

I thought it would be something I could use to personalize my second son’s room.  Once L finally got a room, I realized this little canvas could use something added to it. It needed more color…so I decided I’d embroider it!


Did you know you can embroider canvas? You definitely can! Its simple and quite effective for outlining. You just thread your needle and work like you would on fabric.  I used a basic backstitch and it came out pretty nice.  One day I’m going to try a few fancier stitches, but for now this will work.  I will say the thicker canvas made it difficult to line up my stitches, so don’t look too closely at it! 
  

img_1787-1

 I haven’t decided if I’ll add any other colors or just leave it like it is.  What would you do?

Happy Easter everyone! 

– Steph

“He isn’t here! He is risen from the dead, just as he said would happen. Come, see where his body was lying.”

 -Matthew 28:6 NLT

Blue skies.

Last week when I started on this project I was in the mood for sunny days and blue skies.  I had recently been to one of the furniture stores in town to look for art.  I found some but nothing I could say would live in my room for forever and with prices of $300 and up, I needed the artwork I picked to have staying power.

So instead of that I just decided to use what I had.  I already had these three pictures from ikea.  I thought the white frames looked decent above my bed.  I really liked the way they filled in the space.  But something was off. 

One day while the littlest boy was sleeping I pulled off the backs of the frames and took out the prints. 

  
I rolled each of them with some light blue latex paint I had lying around. I didn’t even cover it with two coats.  It was a very quick work of art, haha.


Then I got out my acrylic paints.  My  oldest boy painted too. (Look at the mess on the island! My house is not always clean- especially on creative days…)
  

I made sure whatever I did to one painting, I mimicked in the other paintings as well. For example, I painted the horizon line in a purpley blue all the way across all three paintings.  Then I added darker blue for the bottom of each painting and mixed in white for the top of the paintings. I also tried to keep my brush strokes the same throughout.

  
Then when they were almost dry I slapped them back in the frames. I probably coulda/shoulda waited a bit longer to frame them but I was concerned the youngest would wake up and have a free for all.


I don’t know how long these will stick around but I like them even more than I thought I would.  

The weather is now full of blue skies inside and outside of my home. Hoping its that way for you too.

-Stephanie

Momma got new barstools!

I’ve been on the hunt for barstools ever since we moved into our home.  I purchased a set of 3 for $100 from target way back when.  They were decent. They swivelled, which at the time was a selling point for me.  After about 2 minutes of the swivel function in motion, I was ready to return them.  But we didn’t have anything to use so I always knew one day they’d be gone. Thankfully, they now are.  My counter top is safe from the threat of imminent defeat by the 4 yr old bar stool swivel master!  

So before we go any further I thought I should be real with you guys- or girls, whoever you are.  I don’t build stuff. I just don’t. I own a sander, nails, probably some wood glue- wait that’s wood filler (nevermind), a hammer…no saw (praise the Lord!). Really, I just can’t see that going in a good way.  But I really wanted some handmade rustic looking barstools so I decided to look up how to make them. As predicted- I’m not going to be building barstools or anything else- anytime soon, maybe even ever. Math and geometry were not really my go to subjects in school. I was more of an English kinda girl.

So what am I supposed to do, can’t/won’t build barstools and don’t want to pay a million dollars for store boughtones..well that’s when I found a guy on my local varage site. He built some barstools and I thought maybe he’d be willing to build me some too!  

I told him what I wanted and waited for a quote….$35 a piece. SOLD!  

 That’s the picture the carpenter sent to me as he was working on the stain (check out that barn door in the background- hubba! hubba!).

And here’s my kids enjoying them.  They are just so stinkin’ cute! Do you ever look at your kids and think- “Wow! How did I make something so adorable?!”.


  And here’s a few more to show the way they contrast with my island and floors.


That’s all for now.  Come back next week I’ll be talking about contrast and why it’s important in decorating.

-Stephanie

I chose…

Hello Lovelies! Well I’m happy.  After several paint sample investigations and much debate, I came to a decision!  At first I thought I’d prefer the second sample swatch or the painted sample on the top right corner.

 
If I had based my decision only on this wall, I probably still would’ve chosen #2.  But my main floor is open concept so I compared my paint samples to my backsplash as well as the furniture stain that’s going to be on my coffee and side tables. 


I also had to take into consideration my overall paint color.  I wanted to go at least one shade darker than the all over color in my living area (if you look close, you can see my all over wall color in the photo above).  Surprisingly, the color I chose was sample # 4, or the middle sample from the above photo.  I finished  painting my living room wall last night.  


This color is part of the Rona paint collection.  It’s called “Okinawa”.  I really like how it contrasts with my couch and wakes up my cabinets!  It’s a soothing color but it still has a bit of energy to it.  I almost like it even more without my picture hanging.  This was my first time using Rona paint and it was a good experience. I tend to be a bit of a paint snob but in my town everything closes at 6 and I can’t get to the paint store in time. Thankfully Rona is open late to accommodate working folk, or at least their wives.  I purchased one of Rona’s higher quality paints-it came with a primer in it and zero VOC’s.  After only 2 coats the red was gone, and that was a deep red! 

So now that you’ve heard my thoughts on it, what do you think?  Do you like it or do you think I made the wrong decision? I love hearing from you so don’t be shy and let me know!

Until next week,

Stephanie